

Transform Your Kitchen With Expert Design Strategies That Work Today
The most-used path in any home is the triangle between your sink, stove, and fridge—and smart kitchen design turns that simple route into effortless flow. By balancing ergonomics, lighting, and storage, you create a space where cooking feels intuitive rather than chaotic. A well-planned layout cuts wasted steps, keeps surfaces clear, and makes daily tasks genuinely enjoyable. The secret is starting with how you actually move and work, then shaping every counter and cabinet around that rhythm. Functionality should always drive the aesthetic—when the room works beautifully, it naturally looks beautiful too.
What Are the Core Principles of a Functional Kitchen Layout?
The heart of any good kitchen design boils down to the work triangle—connecting the sink, stove, and fridge for efficient movement. Keep these three zones close but not cramped, ideally with 4 to 9 feet between each. Prioritize clear countertop space on either side of the cooktop and sink for prepping and landing hot pots. Think about traffic flow, too: you don’t want people walking straight through your workspace. Since most kitchens follow the “prep, cook, clean” workflow, place your trash, dishwasher, and cutting boards in logical, reachable spots. Finally, make sure doors and drawers open fully without hitting each other, and that you have dedicated zones for food storage, cooking tools, and everyday dishes.
Understanding the Work Triangle and How to Adapt It to Your Space
The work triangle connects your sink, cooktop, and refrigerator to minimize wasted steps during meal prep. Ideally, each leg should measure between four and nine feet, with total distance under 26 feet—but rigid rules fail in galley, L-shaped, or open-plan rooms. To adapt it, prioritize the sink-to-cooktop leg, since washing and chopping flows directly into cooking, and place the fridge at the triangle’s outer edge to avoid blocking traffic. In tight spaces, collapse the triangle into a straight line or compact L-shape, keeping a clear 42-inch aisle at the busiest junction. Adapting the work triangle to your space ensures efficiency without sacrificing flow.
- Measure each leg; shorten the fridge-to-cooktop path if counter space is scarce.
- Use a landing zone of at least 15 inches beside the cooktop and sink within the triangle.
- For island layouts, shift the cooktop or sink onto the island to shrink the triangle.
- Test the path by simulating a meal—adjust appliance placement before finalizing cabinetry.
Zoning Your Kitchen for Cooking, Cleaning, and Storage Efficiency
The core of an efficient kitchen layout rests on zoning for cooking, cleaning, and storage. Designate a hot zone around the range, oven, and microwave, keeping pans and spices within arm’s reach. Create a wet zone centered on the sink and dishwasher, placing trash and compost nearby to streamline cleanup. Finally, dedicate a dry zone for pantry items, small appliances, and everyday dishes, positioning it near the entry point to minimize cross-traffic through active work areas. Overlapping zones at corners can reduce wasted steps, but only if the shared counter space remains clear of permanent fixtures. Each zone should have its own landing area to prevent clutter from spilling into adjacent tasks.
Which Kitchen Cabinet Styles and Materials Fit Your Everyday Needs?
Choosing kitchen cabinet styles and materials hinges on your daily cooking and cleaning habits, not just aesthetics. For heavy-use kitchens, thermofoil or laminate offers a seamless, wipe-clean surface that resists moisture and fingerprints, while solid wood—like maple or oak—provides durable grain that hides wear but demands occasional sealing. If you prioritize accessibility, shaker-style doors with soft-close hinges marry classic lines with ergonomic pull motions, whereas flat-panel slabs suit minimalist layouts where you wipe spills in one sweep. For open shelving, opt for plywood cores over particleboard to prevent sagging under dish weight. Always test cabinet hardware clearance against your largest pots before committing to full-extension drawers. Ultimately, match finishes to your lighting: matte hides smudges, gloss brightens dark corners. Prioritize structural hinges over decorative trim, because daily opening cycles define longevity more than visual flair.
Comparing Frameless, Shaker, and Slab Doors for Durability and Look
When comparing frameless, shaker, and slab doors for durability and look, each offers distinct trade-offs. Slab doors provide the smoothest, most modern appearance but show fingerprints and scratches readily; their flat surface means any damage is highly visible, though high-quality MDF or plywood cores resist warping. Shaker doors, with their recessed center panel, are a versatile classic—the inset panel hides minor dents, and the five-piece construction is structurally stable, making them highly durable for daily use. Frameless doors (often European-style) prioritize a clean, seamless look with concealed hinges and no face frame, maximizing accessibility; durability depends heavily on hinge quality and edge banding, as the door edge is exposed. For look, shaker suits traditional to transitional kitchens, slab suits contemporary, and frameless—though technically a cabinet construction—is typically paired with slab or flat-panel fronts to maintain a minimalist facade. Durability-wise, shaker edges resist chipping better than slab’s vulnerable corners, while frameless’s full-overlay design reduces exposed gaps that collect grime. Choose slab for sleekness and easy wiping, shaker for balanced resilience, and frameless when you prioritize hardware and hinge performance over decorative detail. Ultimately, your daily cooking habits and visual preference determine the best fit.
Selecting Countertop Surfaces That Handle Heat, Scratches, and Spills
When selecting countertop surfaces that handle heat, scratches, and spills, prioritize quartz for stain resistance but place trivets under hot pans—its resin binder can scorch. For unmatched heat tolerance, soapstone withstands direct contact with cast iron, yet it scratches easily and requires mineral oil. Granite offers a balanced choice: it resists moderate heat and knife marks, but seal it annually to block acidic spills like wine or lemon juice. Durable, low-maintenance surfaces include sintered porcelain, which ignores thermal shock, blade scrapes, and vinegar without sealing. Avoid polished marble near the stove or sink; etch marks and discoloration appear within weeks. Test a small sample with boiling water, a utility blade, and red wine before committing.
Match your surface to your cooking habits—quartz for casual use, granite for balanced resilience, porcelain for heavy abuse, and soapstone for heat-first workflows.
How Do You Plan Lighting to Make Cooking and Dining Easier?
In kitchen design, lighting is planned in layers to serve distinct tasks. For cooking, direct under-cabinet LED strips illuminate countertops, eliminating body shadows, while a focused pendant over the sink or range ensures precision. For dining, a dimmable fixture centered over the table or island creates a warm, inviting zone, adjustable from bright meal prep to soft evening ambiance. The key is separating these circuits so you can control each area independently. How do you balance brightness without glare? Use diffused, low-glare fixtures and position them just forward of your work surface, not directly overhead. Transition zones, like a counter edge, benefit from a subtle toe-kick light for safe movement, ensuring both cooking and dining feel seamless and effortless.
Layering Ambient, Task, and Accent Lights for Different Times of Day
Your kitchen lighting should shift with your circadian rhythm, not stay static. Mornings demand bright, cool-toned task lights under cabinets to energize coffee prep and chop vegetables with precision. As the day peaks, layer ambient ceiling lights at 60% to soften shadows, while keeping a focused spotlight on the stove for lunch stirring. By evening, dim the ambient layer to warm 2700K, switch task lights to low, and introduce accent lighting—like LED strips behind open shelving—to highlight dinnerware and create a cozy glow. This time-based lighting layering ensures functional prep at noon and relaxed dining at night. Sequence your control:
- Set separate switches for ambient, task, and accent circuits.
- Install dimmers or smart scenes for morning, midday, and evening presets.
- Adjust accent lights last, as mood-setting punctuation.
Positioning Under-Cabinet and Pendant Fixtures to Reduce Shadows
To reduce shadows during food prep, mount under-cabinet fixtures toward the front edge of the upper cabinet, not flush against the backsplash, so light lands on the cutting board rather than the wall. Position them 10–14 inches above the countertop, angled slightly forward to eliminate the body’s shadow. For pendant fixtures over an island or sink, lower them to 28–36 inches above the work surface—higher than this spreads light and creates dark pools under the fixture’s own canopy. Space pendants 24–30 inches apart centered on the task zone, ensuring the bulb’s lower rim sits below eye level. Staggering pendant heights over a peninsula prevents a single harsh hotspot while keeping the counter uniformly lit. Combine both layers on a dedicated switch so shadow reduction remains independent of ambient ceiling lights.

What Storage Solutions Prevent Clutter in a Busy Cooking Area?
In a busy cooking area, kitchen design thrives on smart storage that keeps action zones clear. Vertical storage—like magnetic knife strips, hanging pot racks, and wall-mounted spice shelves—frees counter space instantly, putting daily tools within arm’s reach. Pull-out pantry drawers and deep, labeled bins turn chaotic cabinets into organized stations, so you never dig for a lid mid-recipe. For small gadgets, under-cabinet hooks or a pegboard inside a cabinet door hide clutter while keeping essentials visible. A cutting board rack or a dedicated tray divider in a base cabinet prevents pile-ups, and a trash pull-out with a recycling bin eliminates visible bags. Finally, a rolling cart with shelves offers temporary landing space for hot pots or prep overflow, then tucks away—keeping your main counters free for actual cooking, not chaos.

Using Pull-Out Shelves, Drawer Organizers, and Corner Units Wisely
Maximizing every cubic inch requires deploying pull-out shelves, drawer organizers, and corner units as a coordinated system, not as isolated add-ons. In a busy cooking area, full-extension pull-outs eliminate the frustrating reach to rear wall cabinets, turning deep storage into a visible, first-in-first-out sequence for pots and pantry goods. Drawer organizers must be zoned by task frequency: cutlery near prep, utensils beside the stove, and lids vertically to prevent toppling. Corner units demand either a lazy Susan or a swing-out rack, but the choice hinges on the hinge geometry—a blind-corner pull-out with tandem slides retrieves items fully, unlike a fixed carousel that wastes the outer void. Ultimately, these components function best when sized to the actual cookware footprint, reducing dead space.
- Fit drawer dividers to your specific pan lids and spice jars—not generic grids.
- Pair full-extension pull-outs with low-profile bins to avoid crushing smaller bags.
- For corner units, prioritize a two-tier swivel or pivot system to access both tiers without removing front items first.
Deciding Between Open Shelving and Closed Cabinets for Daily Access
For daily access in a busy cooking area, the choice between open shelving and closed cabinets hinges on how you actually retrieve items under time pressure. Strategic placement of open shelving near the prep zone works best for frequently used tools, like oils, spices, and cutting boards, since you can grab them without opening a door. However, reserve closed cabinets for items that need concealment, such as mismatched plastic containers or rarely used appliances, preventing visual chaos. A hybrid approach—upper open shelves for lightweight daily items and lower closed drawers for heavy pots—offers the ergonomic balance between visibility and dust protection, ensuring your workflow stays streamlined without sacrificing order.
How Can You Match Appliances and Fixtures to Your Cooking Habits?
Match your kitchen’s backbone to how you actually cook, not to a showroom ideal. If you batch-roast weekly, position a double wall oven at eye level near the prep zone, skipping a rangetop’s extra burners for a dedicated griddle or wok station. For quick stir-fries, install a high-BTU gas cooktop with a powerful vent hood directly over the dominant pan position, and place the microwave drawer beneath the counter—not above—so you can slide a hot dish straight from stove to microwave without lifting. Fixtures like a pot-filler faucet at the rear burner save trips when you boil pasta daily. Conversely, if you rely on slow cooking, prioritize a deep sink with a pull-down sprayer and a built-in cutting board ledge, letting the appliance layout follow your sequence: prep, sear, simmer, serve.
Your fixtures should be positioned by the order of your cooking motions, not by symmetry.
This alignment reduces wasted steps and makes the kitchen feel like an extension of your muscle memory.
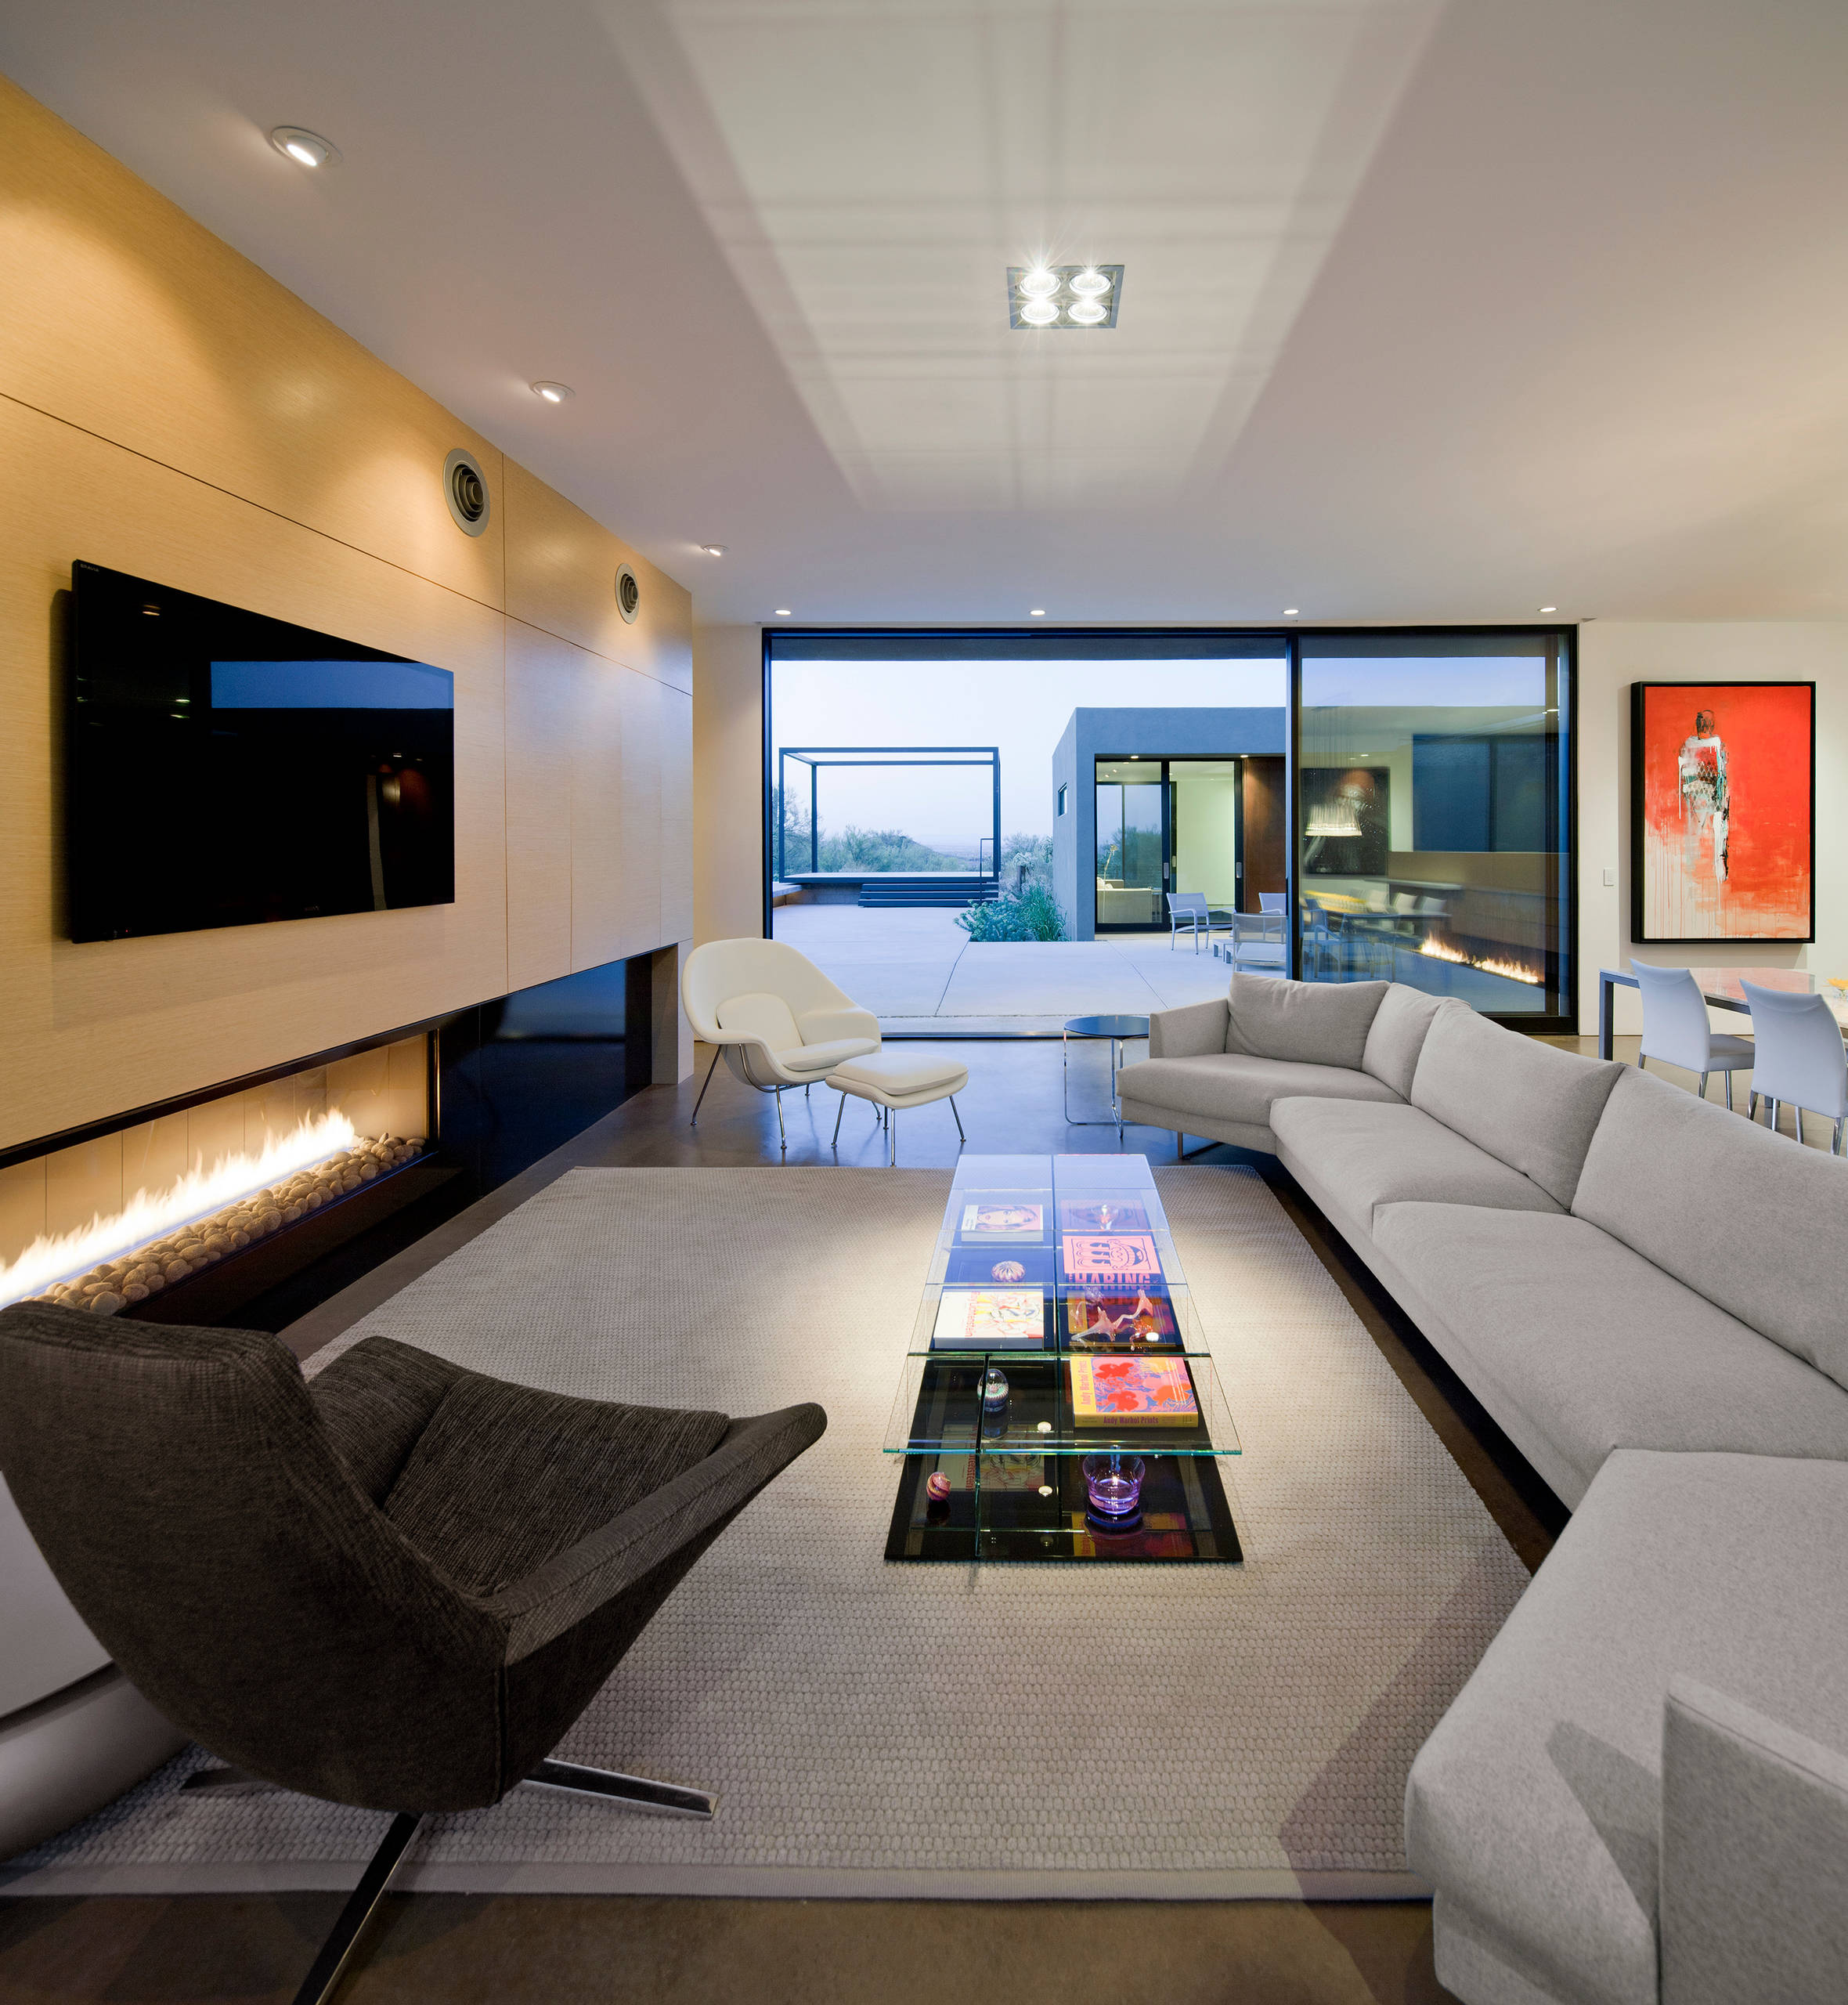
Choosing the Right Range, Fridge, and Dishwasher Sizes for Your Workflow
Selecting appliance dimensions begins with mapping your actual cooking cadence, not showroom aesthetics. A 30-inch range suits sequential meal prep, while a 36-inch pro-style model with multiple burners supports parallel workflows—sautéing, boiling, and simmering simultaneously—but demands wider clearance for pan handles. Refrigerator depth should match your restocking frequency: counter-depth units (24 inches deep) keep traffic lanes open but halve storage, whereas a 36-inch French-door model with a full freezer drawer reduces weekly trips if you batch-cook. For dishwashers, a 24-inch standard capacity aligns with daily use for two to four people; choose an 18-inch drawer model only if you cook single portions and run cycles nightly. Match each appliance’s footprint to your prep-to-clean path so you never stretch across a hot range or block the sink. Workflow-driven appliance sizing prevents bottlenecks between dirty pots and the dishwasher.
Measure your cooking volume and movement patterns first; the right range, fridge, and dishwasher sizes reduce wasted steps and keep the kitchen efficient.
Integrating Sinks and Faucets That Simplify Cleanup and Food Prep
To match fixtures to your cooking habits, position a deep, single-basin sink beside the primary prep zone, ensuring the faucet’s reach covers both areas without splashing onto the range. For frequent bakers, install a pull-down spray head with a dedicated pot-filler feature, while a side-mounted cutting board over the basin lets you scrape scraps directly into the garbage disposal. Choose a touch-activated or motion-sensor faucet with a high arc to fill stockpots and rinse bulky colanders hands-free, and pair it with a low-profile, grid-bottom sink to protect cookware and streamline draining. This targeted setup reduces movement between washing and chopping, making cleanup and food prep integration feel seamless.

What Design Choices Make a Small Kitchen Feel Larger and More Useful?
To make a small kitchen feel larger, ditch upper cabinets in favor of open shelving—it visually extends the wall and keeps tools within reach. Stick to a light, monochromatic color palette; white or pale gray reflect light, while high-gloss finishes bounce it around the room. Opt for vertical storage solutions like pegboards, magnetic knife strips, and pull-out pantry drawers that maximize every inch without eating floor space. A galley or single-wall layout keeps movement efficient, and choosing one deep sink with a gooseneck faucet frees counter space. Use slim, backless stools and a fold-down table instead of bulky islands. Finally, install under-cabinet lighting divine home and a glass-front cabinet or two—both add depth and make the space feel airier and far more practical for daily prep.
Picking Colors, Textures, and Reflective Surfaces That Open Up the Room
Choosing a palette of pale, cool hues like soft whites, light grays, or muted blues can visually push cabinet faces and walls backward, creating depth. Reflective surfaces, such as glossy subway tile or polished quartz, amplify natural light by bouncing it across the room, reducing shadowed corners. Integrate matte textures on lower cabinets or wood-grain accents to add tactile warmth without absorbing light, preventing the space from feeling sterile. A subtly mirrored backsplash or high-gloss lacquer on upper cabinets can double the perceived square footage. Balance is key: too many shiny materials can create distracting glare, so pair them with soft, low-sheen textiles.
- Use light-reflecting glass-front cabinets to break up solid masses.
- Select a satin or semi-gloss paint finish for walls to avoid flatness.
- Incorporate a polished metal range hood as a vertical light catcher.
Maximizing Vertical Space with Tall Units and Wall-Mounted Racks
In a compact kitchen, maximizing vertical space with tall units and wall-mounted racks transforms dead air into functional storage. Opt for full-height cabinets that reach the ceiling, eliminating dusty gaps and doubling capacity for seldom-used appliances. Install wall-mounted racks above worktops for pots, pans, or spice jars, keeping them within arm’s reach without sacrificing counter area. To execute this effectively: first, measure ceiling height and choose tall units with adjustable shelving; second, position racks over prep zones, not the sink; third, use magnetic strips or pegboards for utensils. Every inch gained upward reduces visual clutter at eye level, making the room feel airier. Anchor racks securely into studs—this is non-negotiable for daily use.